

首先第一步,安装vscode
点击下载,然后一直确认就可以了。
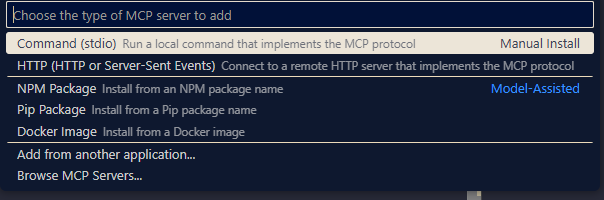
然后安装platformio扩展,在vscode中,点击左下角 extensions,搜索platformio,然后安装platformio。
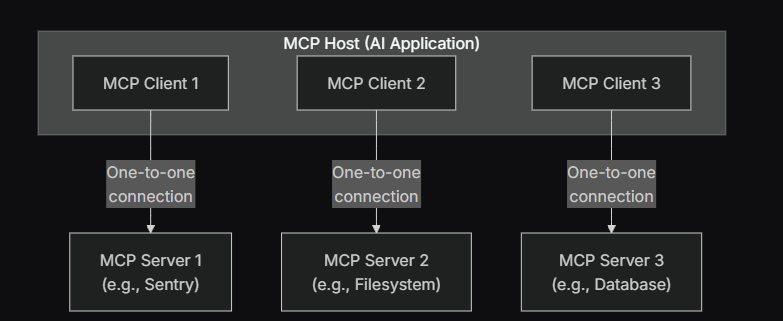
安装成功后会多一个图标
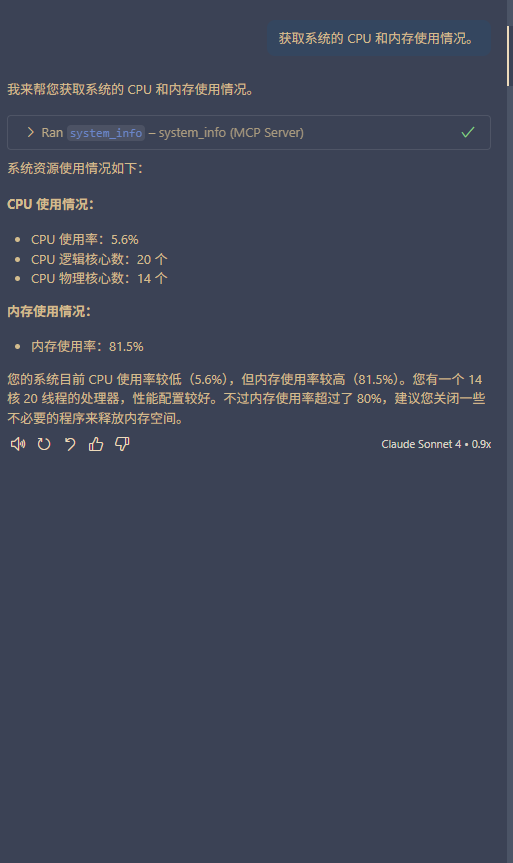
点击该图标就会开始初始化platformio ide,然后等待一段时间。
点击open
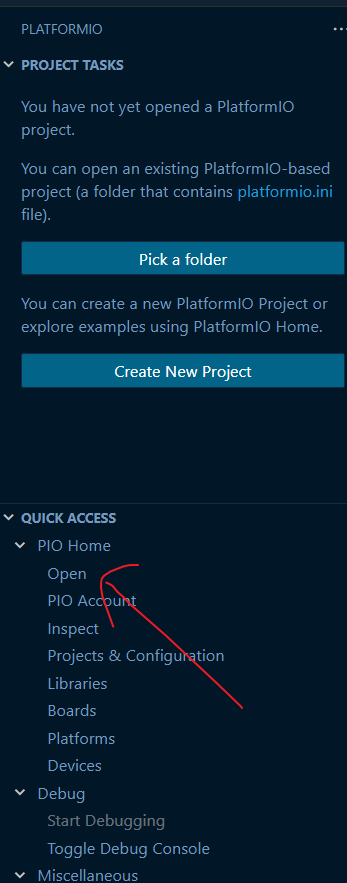
点击new project
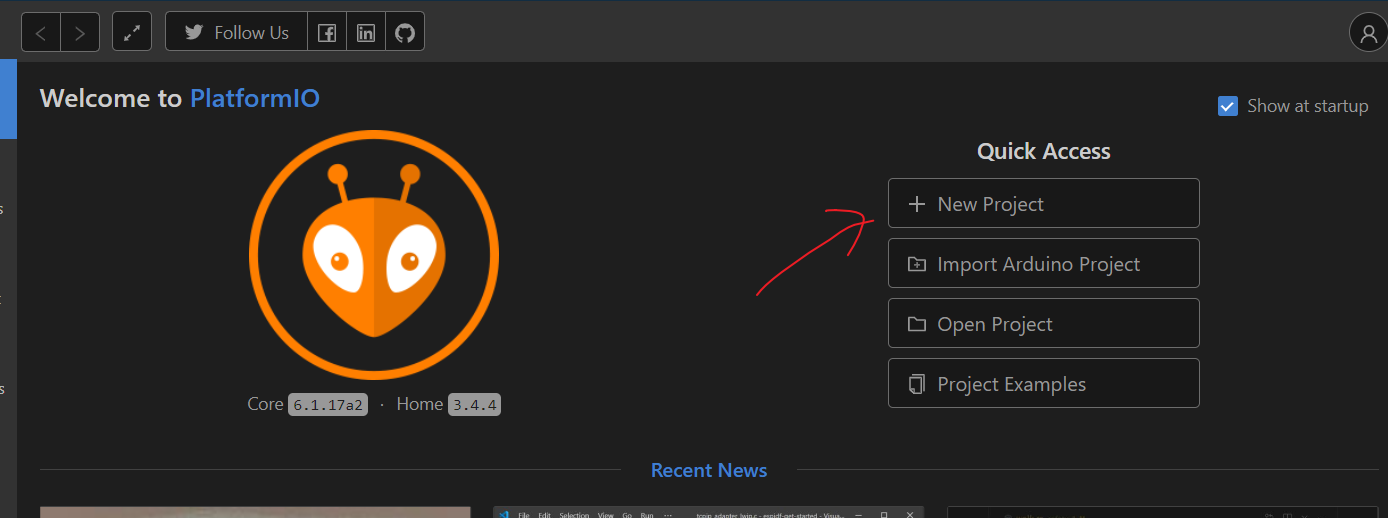
输入项目名称,自己随便取一个
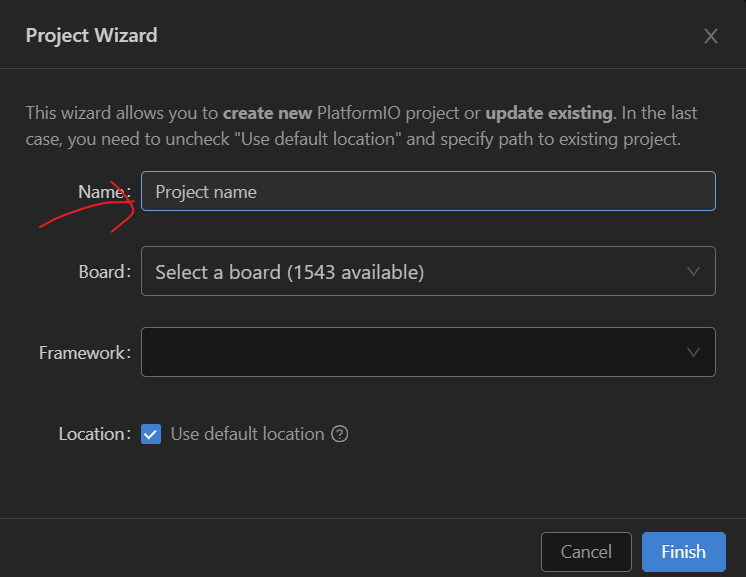
选择esp32开发板
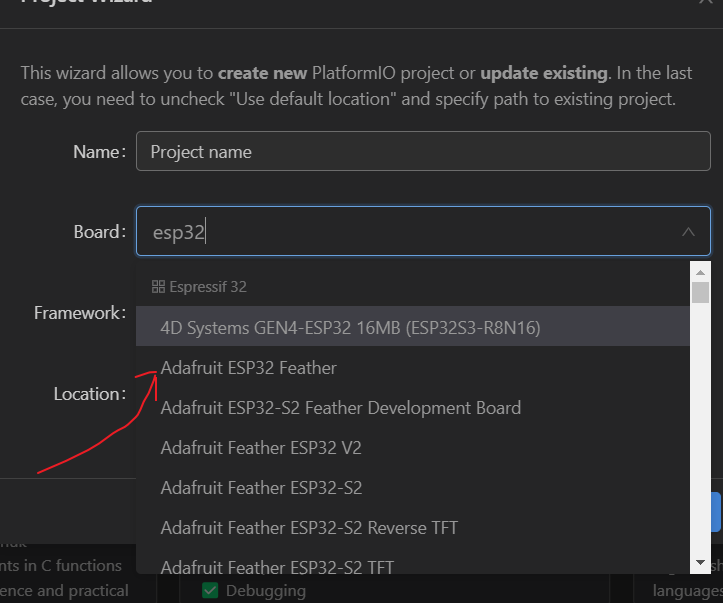
框架选择arduino
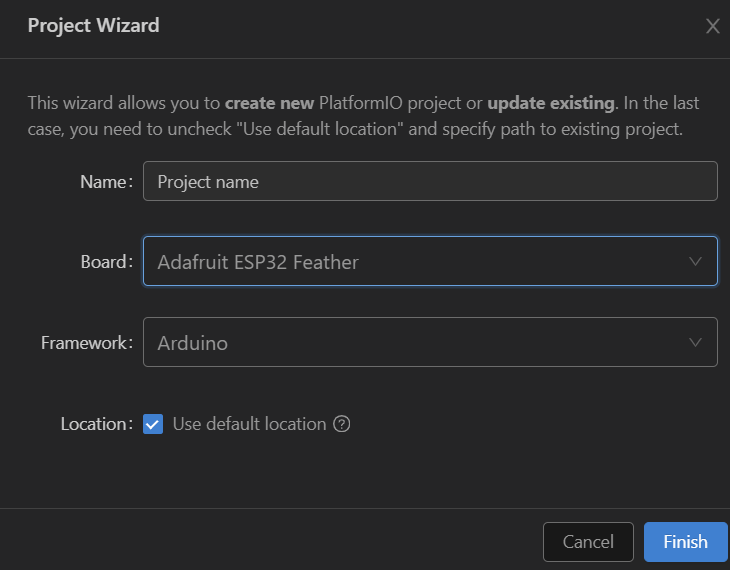
点击finish
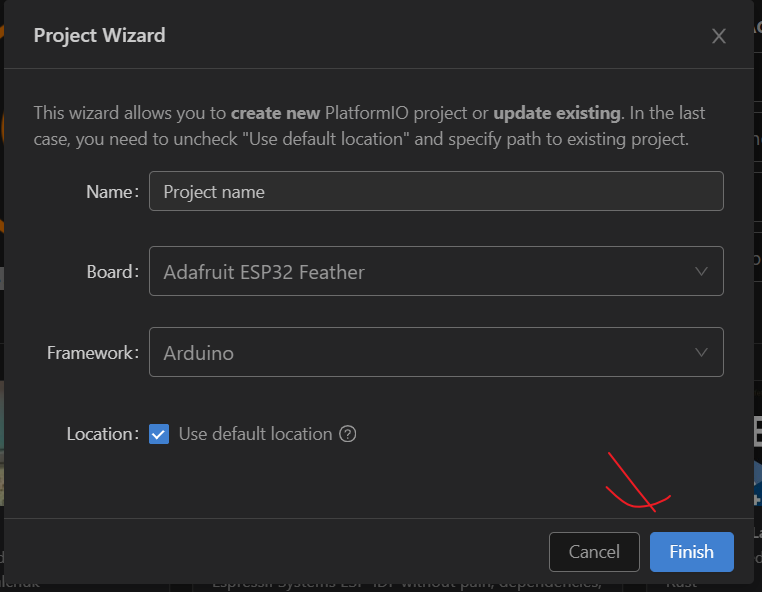
然后等待,这个等待时间可能有点长,因为要下载一些文件。
创建完成,就会自动打开一个新窗口,里面就是我们刚刚创建好的项目。
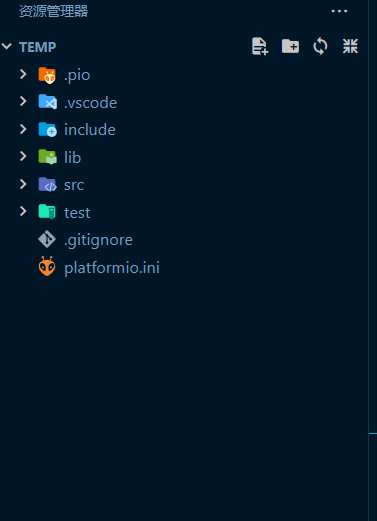
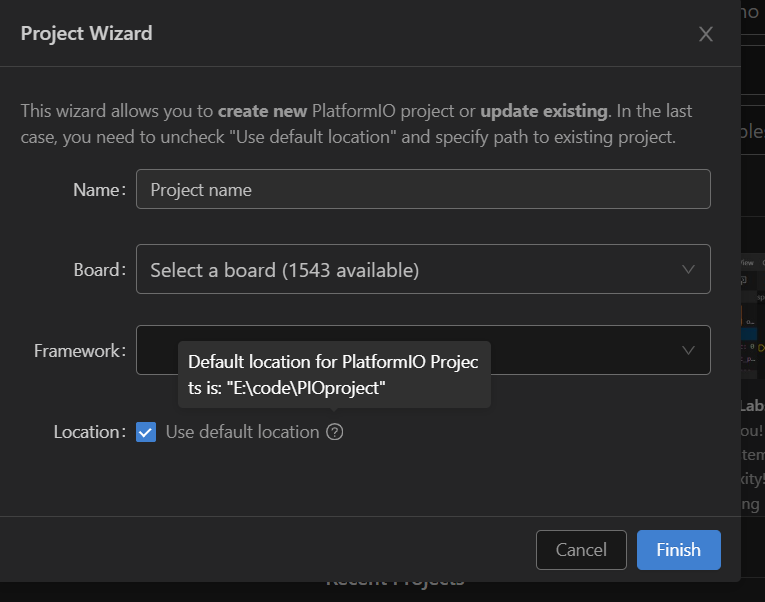
如果没有打开,就找到项目的默认路径,用vscode打开文件夹即可。
src目录下就是我们的代码了,可以打开main.cpp
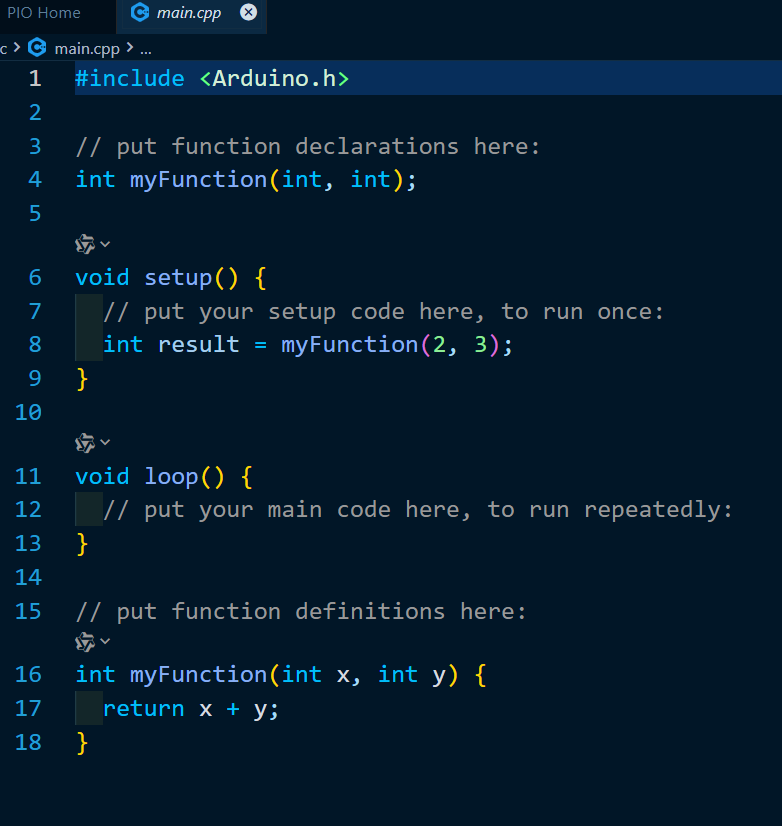
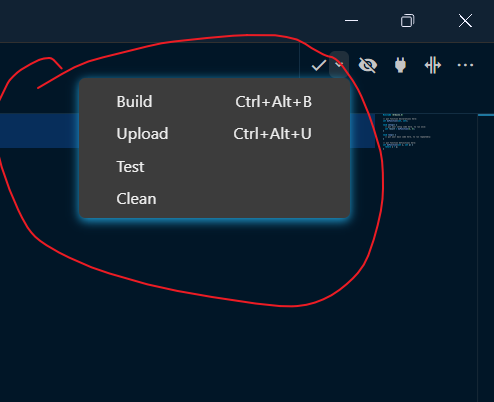
右上角Build就是编译项目,Upload就是上传到开发板。
整个安装的过程就是大概是这样的。
然后我在分享一下一些有关esp32开发的经验。
很多时候,进行嵌入式开发时,其实就是在开发外设的驱动程序,也就是单片机如何与外设进行交互。
而这种交互很多时候就表现在数据的传输上,所以其实最重要的就是要了解各个接口使用的通讯协议是什么
以及如何实现这些通讯协议(例如I2C,SPI,UART等等)。
而在使用arduino框架开发esp32时,其实有很多现成的库可以供我们使用。
所以其实开发起来是非常轻松的(相较于其它框架来说,个人的目前感觉)。
举个例子吧:
当你拿到外设模块时,你可以查看它的名称,例如有一个模块叫做max10302的测量心血氧的模块
你可以打开platformio的library界面然后搜索该模块
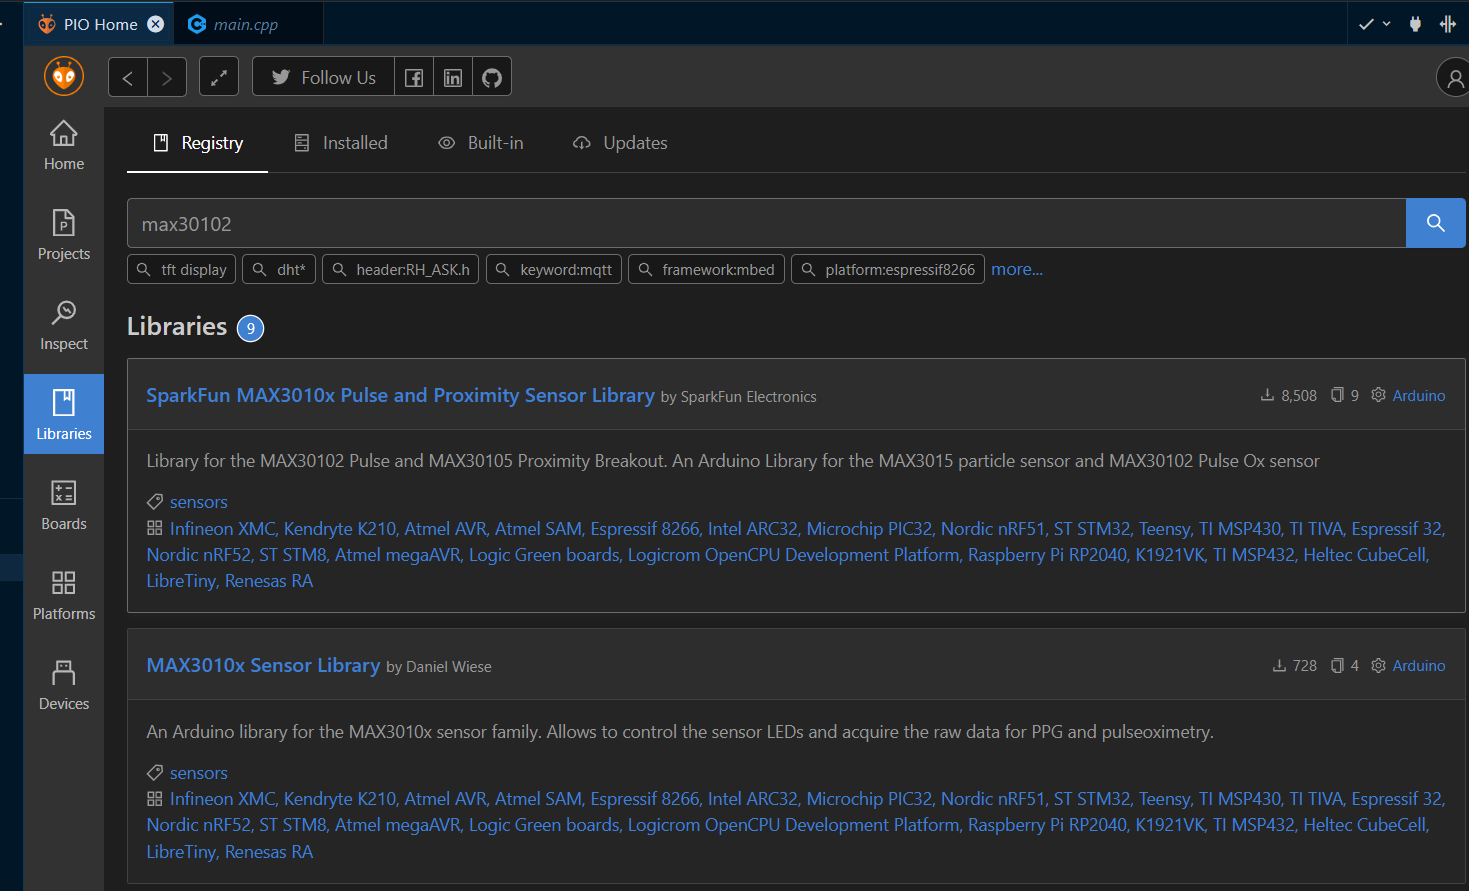
然后点击addproject选择你的项目把该模块添加进去进去就可以了。
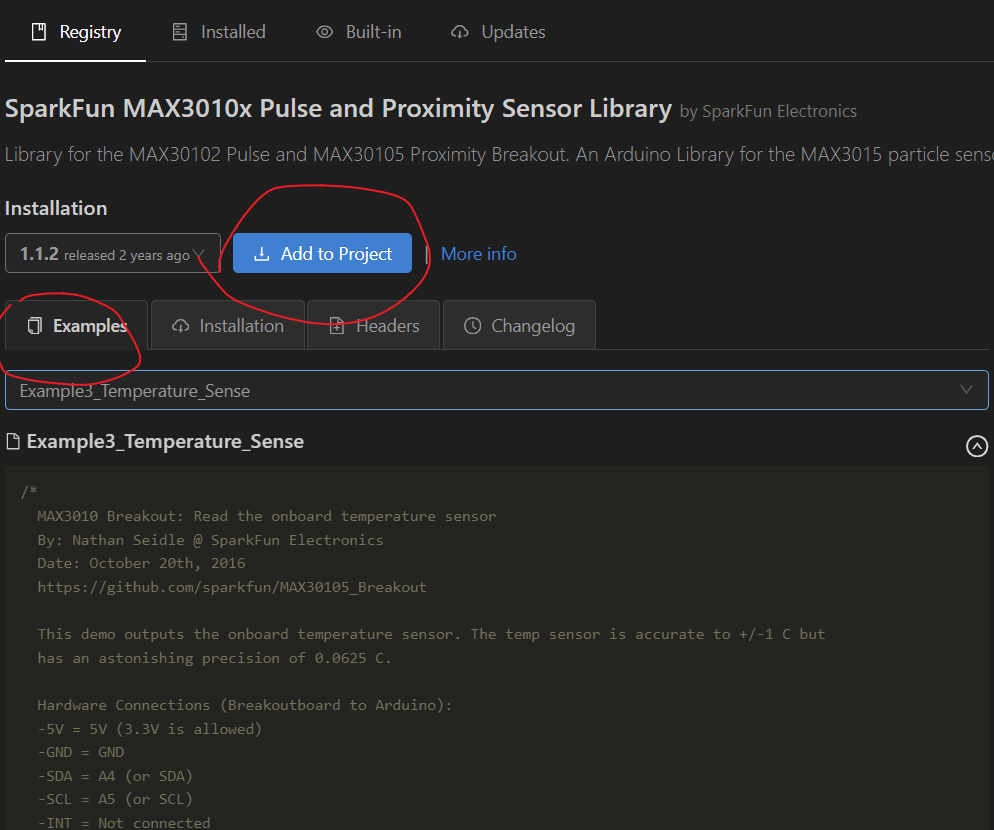
然后使用的话可以参考该模块的示例代码
通过代码都会提供该接口是如何获取数据的(有一定c++基础的应该基本都能看懂个大差不差)。
下面是max30102模块的示例代码
在示例代码中,一般都会说明接线是怎么连的,还有需要初始化构造哪些对象,还有如何获取数据等等。
/*
  MAX3010 Breakout: Read the onboard temperature sensor
  By: Nathan Seidle @ SparkFun Electronics
  Date: October 20th, 2016
  https://github.com/sparkfun/MAX30105_Breakout

  This demo outputs the onboard temperature sensor. The temp sensor is accurate to +/-1 C but
  has an astonishing precision of 0.0625 C.

  Hardware Connections (Breakoutboard to Arduino):
  -5V = 5V (3.3V is allowed)
  -GND = GND
  -SDA = A4 (or SDA)
  -SCL = A5 (or SCL)
  -INT = Not connected

  The MAX30105 Breakout can handle 5V or 3.3V I2C logic. We recommend powering the board with 5V
  but it will also run at 3.3V.
*/

#include <Wire.h>

#include "MAX30105.h"  //Get it here: http://librarymanager/All#SparkFun_MAX30105
MAX30105 particleSensor;

void setup()
{
  Serial.begin(9600);
  Serial.println("Initializing...");

  // Initialize sensor
  if (particleSensor.begin(Wire, I2C_SPEED_FAST) == false) //Use default I2C port, 400kHz speed
  {
    Serial.println("MAX30105 was not found. Please check wiring/power. ");
    while (1);
  }

  //The LEDs are very low power and won't affect the temp reading much but
  //you may want to turn off the LEDs to avoid any local heating
  particleSensor.setup(0); //Configure sensor. Turn off LEDs
  //particleSensor.setup(); //Configure sensor. Use 25mA for LED drive

  particleSensor.enableDIETEMPRDY(); //Enable the temp ready interrupt. This is required.
}

void loop()
{
  float temperature = particleSensor.readTemperature();

  Serial.print("temperatureC=");
  Serial.print(temperature, 4);

  float temperatureF = particleSensor.readTemperatureF(); //Because I am a bad global citizen

  Serial.print(" temperatureF=");
  Serial.print(temperatureF, 4);

  Serial.println();
}
然后就是通过网络将这些数据传输到电脑上,这一个过程可以通过搭建http服务器或者是tcp服务器实现。
(一般情况下可以通过将数据发送到串口去确认一下模块是否有问题。)
以下给出一段搭建http服务器的代码,可以看到是非常简单的。
整个流程就先创建一个webserver对象,然后连接wifi,初始化http服务器接收到请求时需要调用的函数,
然后启动服务器,然后在循环里等待客户端发送请求就可以了。同样的也可以建立tcp服务器。在互联网上都是可以找到相关代码的,直接问ai也基本上可以得到。而且如果是esp32arduino官方标准库的内容的话,在网上是很容易找到官方文档的,可以直接在官方文档中查看相关函数应该如何调用。在搜索的过程过程中还有可能看到用另一个框架esp-idf实现的一些代码,这一个框架的环境配置起来是比较困难的,而且需要对c语言有比较深的理解,所以在在查找或者是向ai询问相关内容使可以额外添加arduino关键词。
整一个开发的流程就是这个样子的,但是也有可能遇到找不到相关库的情况,这个时候就需要自己根据该外设的手册进行封装,进而与外设实现数据交互。
#include <WiFi.h>
#include <WebServer.h>

const char* ssid = "your_SSID";
const char* password = "your_PASSWORD";

WebServer server(80);

void handleRoot() {
  server.send(200, "text/html", "<h1>Hello from ESP32!</h1>");
}

void setup() {
  Serial.begin(115200);

  WiFi.begin(ssid, password);
  while (WiFi.status() != WL_CONNECTED) {
    delay(500);
    Serial.print(".");
  }
  Serial.println("");
  Serial.println("WiFi connected.");

  server.on("/", handleRoot);

  server.begin();
  Serial.println("HTTP server started.");
}

void loop() {
  server.handleClient();
}